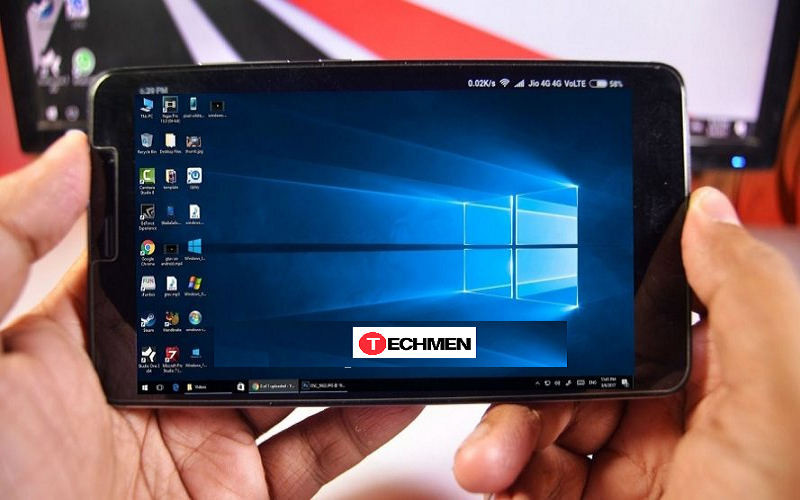
Limbo is a popular emulator for android device, using this emulator we can easy to run legacy Windows software on your tablet. With this loveable Limbo PC Emulator, you can also run legacy Windows software on your Android smartphone very easily. I used my old Windows ME disc for exhibition purposes, but you should have no problems getting Windows versions up to XP working this way as well.
Mostly the people have uses the high RAM or High Processors Smartphone, so running this emulator on your device you can easy to work done and get some new trick QEMU emulator designed for Android exists in the Google Play Store called Limbo PC Emulator. It’s free to download and use for both commercial and non-commercial purposes.
The Limbo works with a few Desktop OS like, Windows XP and newer, Ubuntu, and most large OS are NOT supported due to their heavy use of resources.
Also, the ‘Hacker’s Keyboard’ (available on Play Store) is recommended for use with Limbo. It’s very speedy emulator to that easy to emulate all devices and OS. Mostly It’s recommended to use a device with at least a dual-core CPU.
Key Features:
There are few features here listed:
- QEMU Based PC Emulation for Android
- VNC Server
- Emulated CPU support – Now supporting x86, ARM, PowerPC, and SPARC!
- CDROM, Floppy, and Hard Drive image support
- USB Device support
- User/NAT Networking
- Load/Save Machine state
- Live chat for support (we have a Discord Server)
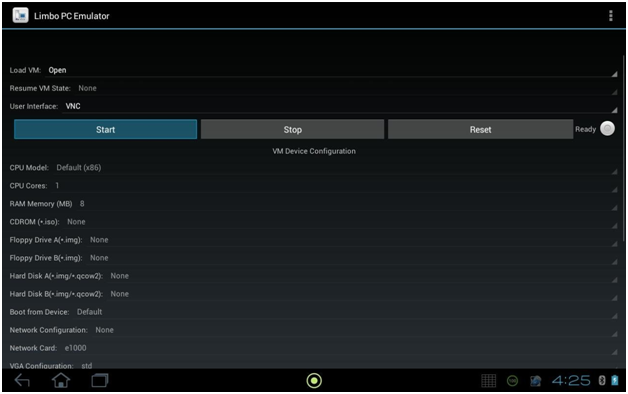
Screenshot:
Limbo PC Emulator v2.11.0
How to run Limbo emulator
- First off all, Create an ISO image of your Windows install disc. Which can be accomplished using a tool like LC ISO Creator for Windows, Disk Utility on OS X, or dd on Linux operating systems
- Now just Plug in and mount your Android tablet as a USB Mass Storage device, after that copy the ISO image to the location of your choice.
- And Turn On to your Android device, Go to Limbo PC Emulator, press the drop-down menu next to Load VM, then press the New option to create a new virtual machine.
- After that type in the name for your VM, then press the Create button.
- Now you’ll be given quite a few options to tweak and alter. For my example, I set memory size to 256 MB and CPU model to pentium3 mode.
- And Select the location of your ISO next to the CDROM option. If the disc image is not bootable, you’ll need to provide a boot floppy image as well down below
- In order to install the OS, you’ll need a hard disk. Select the drop-down next to Hard Disk A and press New. Set the file name and size of the drive, then press Create.
- Adjust the rest of the emulated hardware according to your preferences. There is no single right way to configure that depending on the guest OS being installed. And don’t forget to set your default boot device to the drive you’ll boot the OS install disc from.
- In the last select SDL as the option for the User Interface pull-down menu, so that everything you see is scaled to the entire screen
- Just Press the Start button to commence the boot sequence
- Install Windows like you normally would. It’s strongly advised that a Bluetooth keyboard is used, since the on-screen keyboard doesn’t have all the buttons, like function and arrow keys. You’re also able to see more with your on-screen keyboard out of the way.


