Gone are the days when you need to pay multiple taxes as now is the time when the Indian government has combined all of them under one umbrella, in the name of GST. Every Indian whose income falls within the GST range has to pay the tax.
However, getting to the office and paying it manually is a tiresome process. Therefore, the government has launched the official GST portal so that everyone can easily file their tax return without stepping out of their comfort zone. If you are a novice and have no idea where to start, then worry not as we are here to assist. The guide mentioned below entails all the necessary information about logging into the portal. Let’s dive right in!!
A Brief Guide To The GST Portal
The Goods and Services Tax (GST) applies to all goods and services sold in India. It is an important part of the country’s tax system as it brings multiple taxation rates under one roof. This makes it easier for businesses to keep track of their taxes and for consumers to pay their taxes.
GST Portal is a web portal that provides a single window for businesses to register for GST and file returns. It makes it simple for businesses of all sizes to get started. The portal includes a variety of features, including an online registration system and an e-Filing System. In addition, it also offers 24/7 support and assistance.
The Portal gives access to resources that can help businesses comply with the GST. It also includes tools that help you understand the tax system.
How to Register For GST Portal?
Wondering about how to register for the GST portal? Here’s mentioned the step-by-step guide to get started. Follow the steps religiously and carry out the process with ease.
- First of all, go to the official GST website and choose ‘GST Practitioners.’ Then pick ‘Register Now.’
- A new page will open, where you have to choose ‘New Registration’ from the drop-down menu. Fill in the blanks and upload the papers you’ll need.
- You will get a One-Time Password as soon as you have completed all the steps.
- Enter the OTP, then click Proceed after entering the characters from the picture into the window.
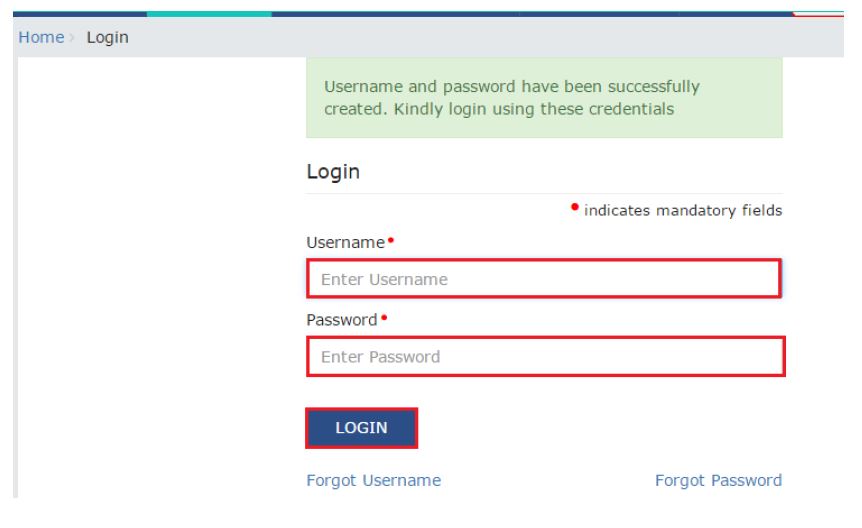
- Thereafter, you will receive an acknowledgment number after submitting your application forms. The users will obtain a GST number, User ID, and password, as soon as the application procedure is completed. You may use this information to access the GST government portal.
Steps to File Your GST Returns Online
Now that you have registered yourself with the GST portal, it’s time to file your GST returns online. So, let’s get started!!
- To begin the process, make sure that you are GST-registered and have a 15-digit GST identity number.
- To access the GST portal, go to http://www.gst.gov.in and select the ‘Services’ tab.
- Click on “Returns dashboard” and then select the financial year and return filing period from the drop-down box.
- Choose the return you wish to file and then click Prepare online.”
- Fill in all relevant fields, including the amount and, if appropriate, a late charge.
- Once you’ve completed all the fields, click “Save” to see a success message appear on your screen.
- To file your returns, go to the bottom of the page and click ‘Submit.’
- When your return’s status changes to ‘Submitted,’ scroll down and choose the ‘Payment of tax’ tile. Then, under ‘Check balance,’ click to check your cash and credit balances so that you know these data before paying the tax under several minor sections.
- To erase your debts, you must first specify the quantity of credit you wish to spend from the credit that is currently accessible. Then, to make the payment, click on ‘Offset obligation.’ When the confirmation screen appears, select ‘OK.’
- Finally, pick an authorized signatory from the drop-down list and check the box against the declaration. Click ‘Proceed’ after selecting ‘File form with DSC’ or ‘File form with EVC.’ Make a payment for your GST form now.
Services Offered on GST Portal
Once you’ve logged into the GST site, click on the ‘Services’ option to access services. This portal offers you plenty of servies to make the tax filing and return process simple and hassle-free. Scroll down the page to find the complete list of serviced offered.
- Registration
This tab allows you to change the registration information, pick composition levy, and more. It displays the services offered on the GST dashboard’s “Registration” area.
- Ledgers
You may view the electronic cash ledger, credit ledger, and other financial records on this page. The Services area of the GST dashboard displays the available facilities.
- Returns
The users may access the return dashboard, track return status, and more under this page. The services get displayed on the GST dashboard’s Returns tab.
- Payments
You may generate challans, check stored challans, and so on under this tab. The services get displayed on the GST dashboard’s Payments tab.
- Services for Users
You may access a variety of services under this menu, including checking notices and orders. It displays a list of services accessible under the GST dashboard’s User Services menu.
- Refunds
You may ask for a refund, follow its status, and so on under the “Refunds” tab. The services are displayed in the GST dashboard’s Refunds section. The remaining tabs, GST Law, Search Taxpayer, Help, and e-Way Bill System, all provide the same functions after logging in as they did previously.
Conclusion
That’s all for now. We hope now you are familiar with the complete process to register with the GST portal and file the returns online. The GST site is meant to eliminate the need for taxpayers to physically visit tax offices to perform procedures like registration, assessment, and refund requests. So, why wait? Get the registrations done and pay your taxes in time to avoid any hassle later on.

