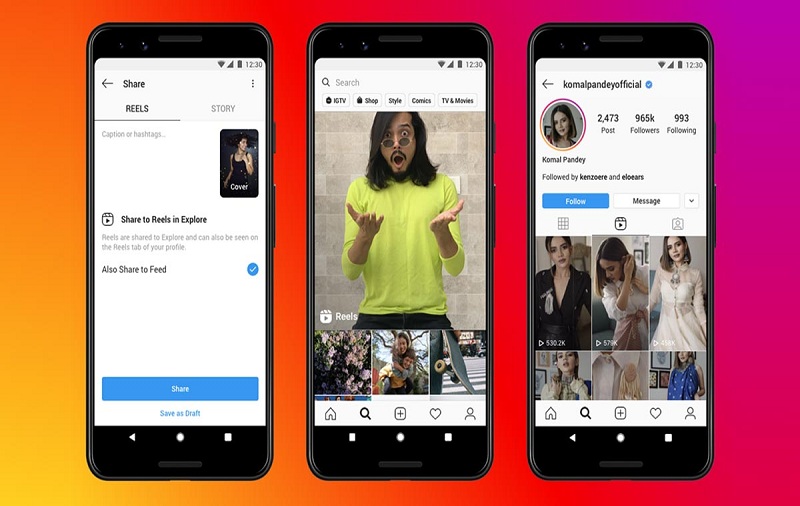
Last month was very disappointing for all the TikTok users as the app suddenly got banned in India because of user’s privacy disquiet. Along with TikTok, other 58 Chinese banned by the Indian Government. Within a week of TikTok ban, Instagram took the opportunity and added new TikTok like feature called “Instagram Reels”.
Just like the TikTok, this new Instagram Reels let users create short 15 second entertaining videos by adding songs, filters, AR effects, and lot more option to make the video amazing like you used to do on TikTok. Instagram also added some other options like Timer, Effects, Speed, and Audio, to make the videos more engaging.
Further, you can even make the video public or private according to your need whether you want to explore it your followers and other Instagram users. After a month, the Government also banned other 47 Chinese cloned apps which include TikTok lite. So it’s time to done with it and start creating some great videos on Instagram Reels. Let’s head on the guide to use Instagram Reels on Android and iOS devices.
Tips To Use Instagram Reels
Note: Before you go ahead to the guide to use Instagram Reels, make sure that your app is updated to the latest version. If not, then go the Google Play Store for Android and App Store for iOS update.
How To Create Instagram Reels
Step #1: First of all, open the Instagram app on your mobile.
Step #2: Next, tap on the Camera icon at the top of the display.
Step #3: Under the Shutter Button, tap on the new Reels option and Get Started.
Step #4: Once you tap the new Reels option, you will see Time, Effects, Speed, and Audio option there. Choose the option as per your choice.
Step #5: Now tap on the Audio icon and chose the music you want to add. You can choose music from the list or search for any other track.
Step #6: After you have selected the song, you can also choose the part of the song or music you want to use and then tap Done to go back to the recording section. Wanna use your own voice? Just tap the Shutter Butter after steps 2 and record the sound.
Step #7: Once you have recorded the video, you can tap < icon to preview the recorded video and > to go ahead or delete icon to remove it.
Step #8: After taping the > to move forward, then you can download Reels, Add Stickers, Mark Up,or add text to the video and again tap > at the bottom if you are done.
Step #9: Now you can also add Captions and Hashtags as per your choice.
The default feature will share the Reels to Explore and you can choose whether you want to show in on Feed or not by the checkmark.
Step #10: Tap on Share and enjoy the new Reel.
If you don’t want to share the clip right now then you can save it as a draft and edit it later to make some good edits and then share. Another great feature of this Instagram Reels is that you can even use your pre-recorded video to make Instagram Reels. Want to know how to do it? Check out these steps!
Step #1: First of all, open the Instagram app and go to the Reels option.
Step #2: Next, here you can see the Gallery icon at the bottom. Just tap on it and select the video you want to use.
Step #3: You can also choose the extra part of the video by swiping the bar and move its edges in or our accordingly.
Step #4: There you can also add music by tapping the Audio icon and select the music and then tap Done.
Step #5: Now tap on > to preview the video and then again > to share the Reel.
This is how you can use Instagram Reels feature on the smartphone. Have you already used this feature on your smartphone? If so, then please feel free to share your experience with us in the comment box. Do you still miss TikTok app? If you know any other apps like TikTok then do share them with us in the comment section.


