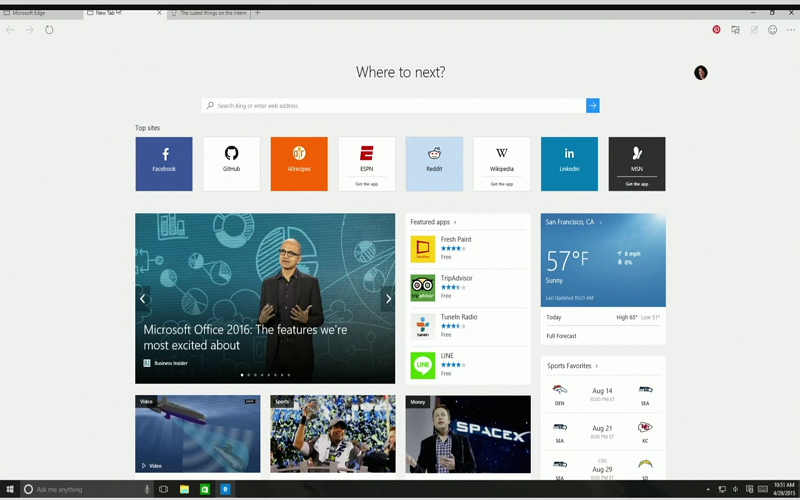
Microsoft Edge is one of the most powerful web browsers which developed by Microsoft. It’s gone a by default included in Windows 10, Windows 10 Mobile and Xbox One, as you can see the browser was great navigation and very user-friendly interface, it is designed to be a lightweight web browser with a layout engine built around web standards. But mostly the users will choose either Firefox or Chrome as their primary browser, a small amount of Windows 10 users have been using Edge as their default browser.
Some users have complaint their issues while using Edge on Windows 10. The Edge doesn’t start at all. Or some users have been complaining that the Edge crashes as soon as it’s open. And for a small number of others, Edge is very slow and more than ever crashes while loading pages.
There are many problems with Microsoft Edge; if you are having, you might be able to fix all the issues by reinstalling the browser. While reinstalling Edge browser is not a very simple trick, if you’re having severe problems with Edge, reinstalling the browser is the most excellent way to fix all issues.
Here’s you should follow the steps and reinstall the Edge browser on Windows 10. So Please read all steps carefully before trying this process on your Windows 10 system.
Please note that once you might lose all favorites as well as your browsing history. Export favorites to another browser if you have tons of favorites.
How to Reinstalling Microsoft Edge in Windows 10
Step 1: First of all, Close Microsoft Edge browser, if it’s running.
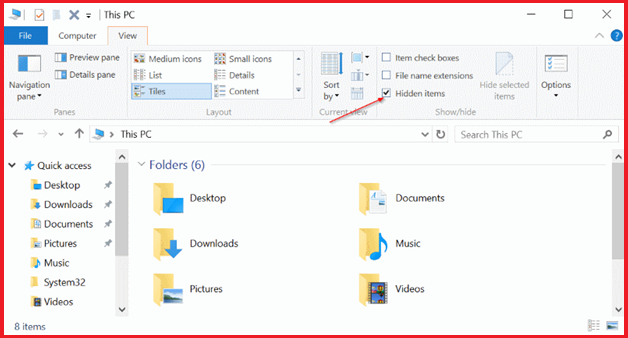
Step 2: Now Open up File Explorer, click View and then check Hidden items box to view all hidden folders. This is required as some folders like AppData are hidden by default.
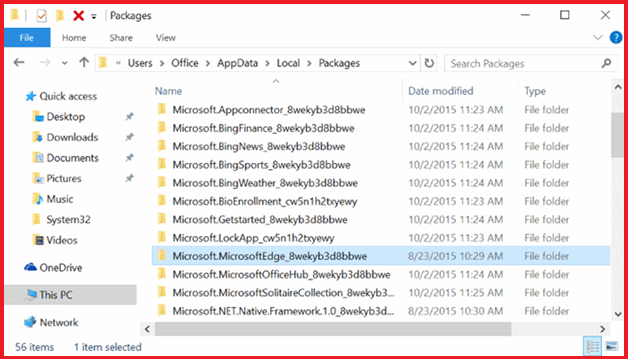
Step 3: Go to the C:\Users\UserName\AppData\Local\Packages and Replace “UserName” with your username.
Tip: You can quickly navigate to the above location, by pasting the path in Run command box.
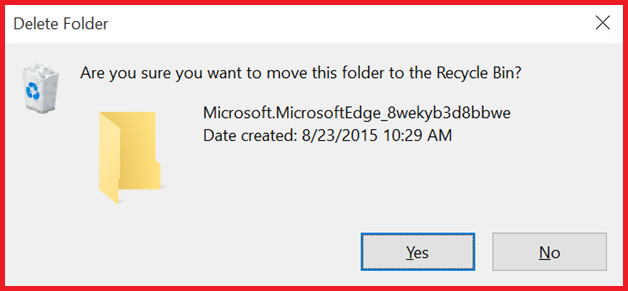
Step 4: At the present folder named is Microsoft.MicrosoftEdge_8wekyb3d8bbwe that delete it. When you press or click Delete, you may get the confirmation dialog. Click Yes button.
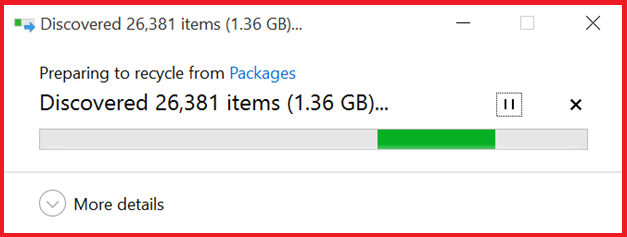
You will observe the following dialog with Preparing to recycle from Packages message. It may take about 10 minutes to find out all items in that folder.
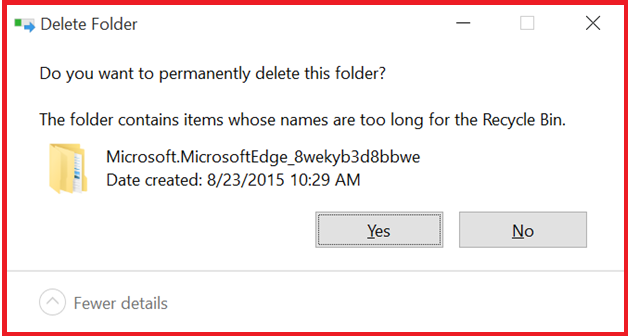
You may spot the following dialog with “Do you want to delete this folder permanently? The folder contains items whose names are too long for the Recycle Bin” message. Click Yes button.
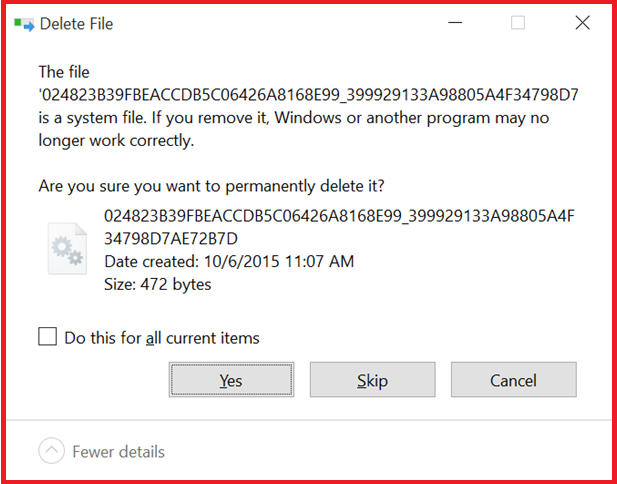
Windows 10 will take a couple of minutes to delete this or items of this folder. If you get the next dialog with Are you sure you want to remove it? The message, click Yes.
If it declares no to delete some files, click Skip.
Step 5: Now close the all running apps and restart your PC.
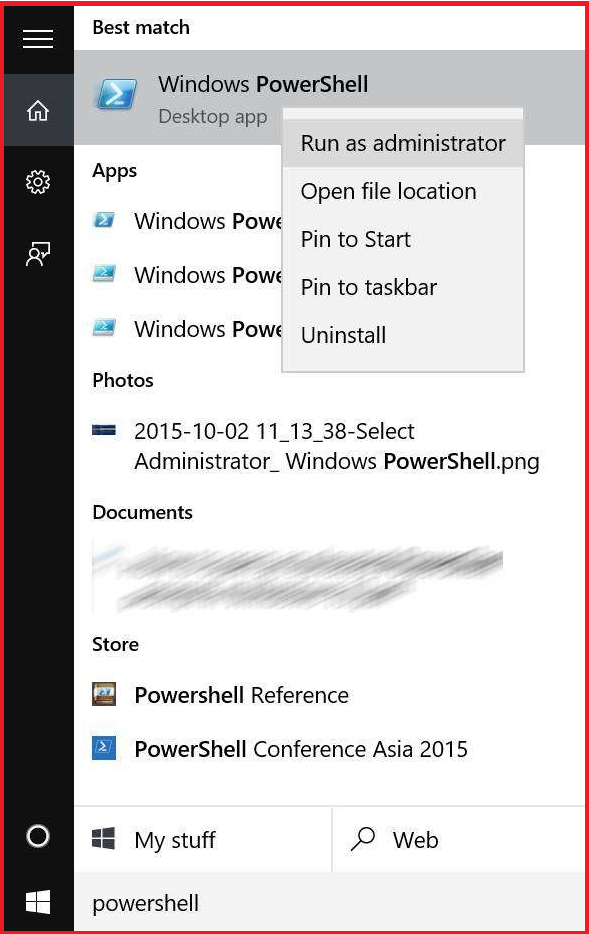
Step 6: As well as open PowerShell as an administrator. This can be done by typing PowerShell in Start menu or taskbar search box, right-clicking on PowerShell way in and then clicking Run as administrator option.
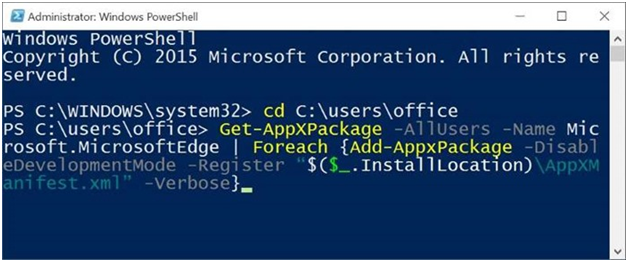
Step 7: After that open PowerShell, and navigate to your user account’s directory by executing the following command.
cd C:\users\yourusername
Replace “your username” with the actual username of your account.
Step 8: last of all, copy and paste the following command in the prompt and then press Enter key.
Get-AppXPackage -AllUsers -Name Microsoft.MicrosoftEdge | Foreach {Add-AppxPackage -DisableDevelopmentMode -Register “$($_.InstallLocation)\AppXManifest.xml” -Verbose}
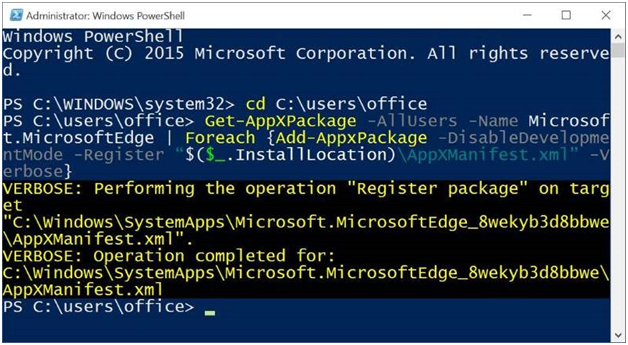
Formerly the command is executed successfully; you will see “Operation completed for” message.
That’s it! Now you have to restart your computer once again. You should now be able to open and use the Edge browser without any issues.

