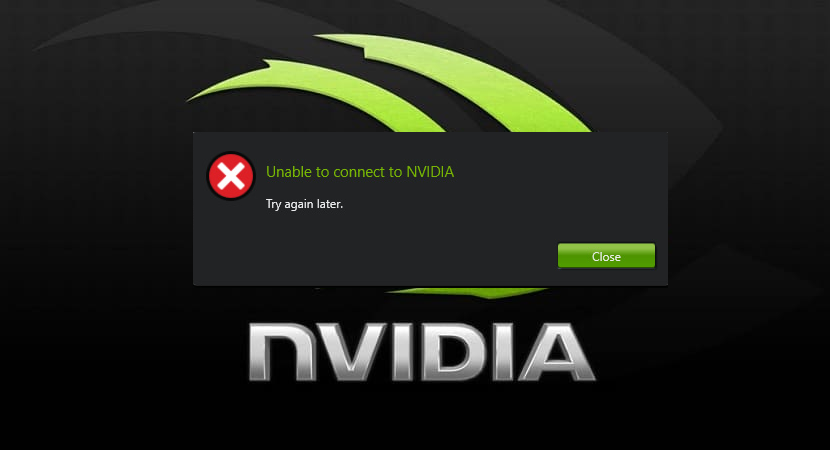
“Unable to connect to Nvidia” is often heard error from many gamers from all around the world while playing high graphics games on a computer and playing games with Nvidia Geforce graphics card. Well, usually the “GeForce experience unable to connect to Nvidia” error occurs on computer device with Windows OS version 7 or 8. But here we can help to solve unable to connect to Nvidia try again later error on PC.
Since 2014, one of the major problems confronted by the gamers anytime they’re trying to upgrade their OS or is substituting an old video card with a new one would be that the “unable to connect to Nvidia 2021” message shown by GeForce Experience. Though it was a persistent issue even if we check for upgrades from the OS, there has been no stable fixes from NVidia.
So if you are using NVIDIA graphics card and then you got an error message such as”Unable to Connect to NVIDIA. Try again After ” when you attempt to use GeForce Experience to upgrade your display driver, then let me inform you that you aren’t alone to confront this issue since there are lots of Windows users are still reporting this problem too.
Here are 3 Solutions To Fix “Unable to Connect to Nvidia” Problem
Solution 1: By Deleting NSManagedTasks.xml
Let’s start with once of simplest method to fix Nvidia Geforce experience unable to connect to Nvidia, so let’s see how to solve unable to connect to Nvidia issue.
- This fix is the most common one and operates on most of the computers. Also, among the most straightforward approaches in several steps:
- In your system: First Go to C:\ProgramData\NVIDIA Corporation\NetService\ and find the NSManagedTasks.xml which usually causes the error and delete it.
- Now you have to Launch the task manager by pressing CTRL + ALT + DELETE altogether. Find NVNetworkService.exe and kill the process also tick the box against Show processes from all users once you have found it.
- After that Press Win + R and paste services.msc in the Run command window that will open and hit Enter.
- Next to open a new window on your screen and search for NVIDIA Network Service from the available list.
- At that point Right click on the option and click on the Start option.
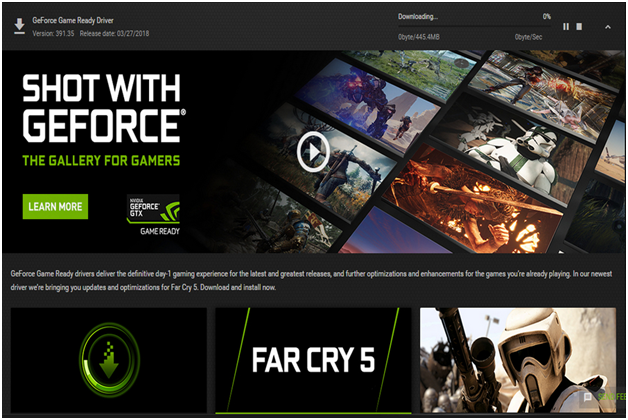
That’s it, now it will working GeForce Experience tool running, and again you will get the same window like below; so close it and again re-open it to solve the problem and it will allow you to update it in an error-free manner.
Solution 2: Unable to Connect to Nvidia
The Following fix comes If you Depart the Entire system at the hands of Their Support Supplier, i.e., GeForce:
- Now Go to your browser and visit www.geforce.com/drivers, the first option available will be Automatic Driver Updates and Click on Download.
- This will help you to automatically download the latest version of the GeForce Experience on your device and install it on the same by deleting the existing version of the software.
When it is installed, you can now check for updates, and the issue will be solved. But it is advised to uninstall the driver manually.
Solution 3: Changing Hosts Files
This is among that advanced option that includes changing the hosts’ IP address that requires a certain degree of expertise and should not be tried by novices.
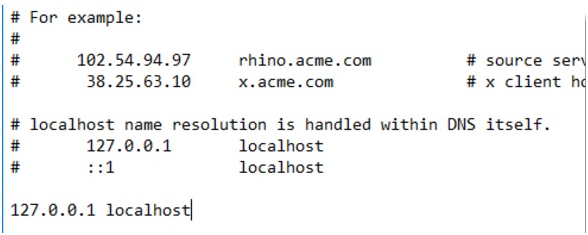
Step 1: First Go to C:\Windows\System32\drivers\etc and open the host in the Notepad.
Step 2: Now create a backup copy of the available text before editing it. Change the local host “0.0.0.0” to “127.0.0.1” or remove “x.x.x.x” localhost.
Step 3: If you can’t edit it, In this point, you can copy paste it in some other place, write it and then paste it back.
Step 4: Open and try updating GeForce again and it should work.
Read More: Fix Razer Synapse Not Working on Windows 10
In Last!
The solutions which have been presented in the article are tried by ourselves as we’ve confronted similar problems with our computers. We expect these options can allow you to resolve Nvidia connect difficulty. But if the same problem persists, please inform us in the comment section below, and we’ll try our best to get the help for you.


